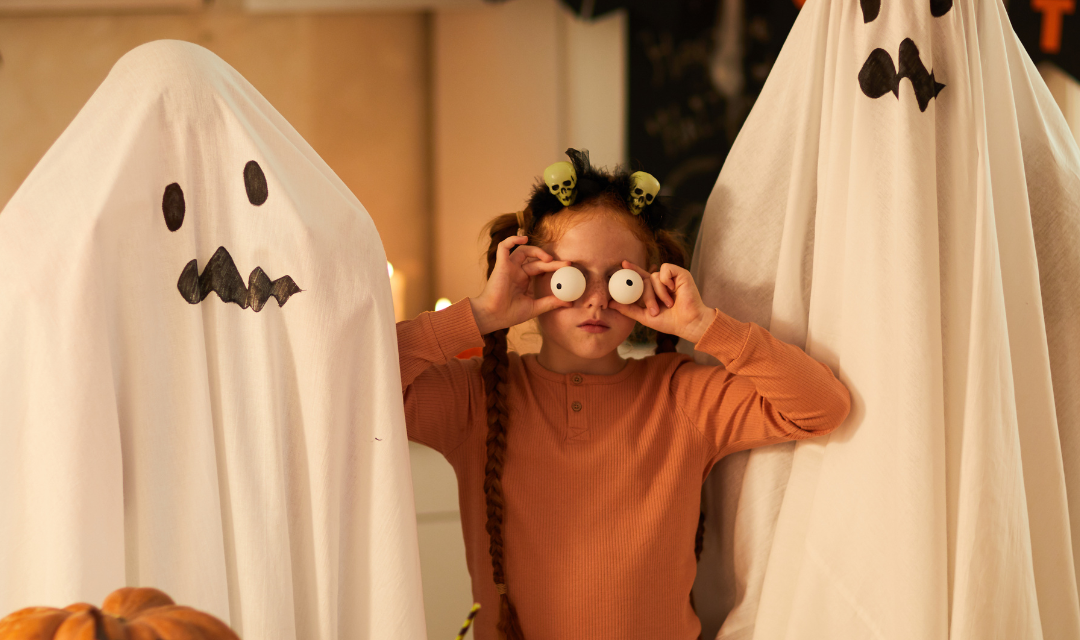
Halloween is just around the corner, and you know what that means—it’s time to start planning those costumes! Instead of rushing to the shops, why not make this year extra special with some DIY magic? Creating costumes with your little ones is not only budget-friendly, it’s also lots of fun and they’ll be so proud to show it off! Whether your child dreams of bring a superhero, animal, or magical creature we’ve got a list of simple DIY Halloween costumes that you can make at home.
1. DIY Superhero Costume
Let’s start with something every kid loves—superheroes! Who wouldn’t want to fly around with their very own cape?
What You’ll Need:
- An old t-shirt or fabric (don’t worry if it’s got a few holes)
- Some coloured felt (for their superhero mask and emblem)
- Velcro strips or safety pins
- Scissors and glue (or thread)
- Ribbon or elastic for tying the cape
How to Make It:
- Create the Cape: Take your old t-shirt or fabric and cut out a big rectangle to make a cape. Make sure to leave the neckline (if using a t-shirt) so it’ll stay on.
- Make the Mask: Cut a simple mask shape from the felt and create some eye holes. Attach the elastic on either side an elastic so it fits snugly on your kid’s face.
- Add the Superhero Symbol: What’s a hero without a symbol? Cut out a lightning bolt, star, or whatever emblem your little one wants, and glue it onto the cape.
- Put it together: Attached the cape with Velcro or a ribbon, and their ready to go save the day!
2. Easy Animal Ears & Tail
Here’s a quick and adorable costume that will only takes minutes to whip up.
What You’ll Need:
- A headband
- Felt (black for a cat, brown for a dog, or white for a bunny)
- Hot glue or a needle and thread
- Ribbon or elastic for the tail
How to Make It:
- Ears First: Cut out two ear shapes from felt and glue them to a headband. If you fold the base before gluing, they’ll look extra cute and 3D.
- Now for the Tail: Roll up some felt into a tube and sew or glue it together. Tie it onto a ribbon or elastic so your child can wear it like a belt.
- Finishing Touch: Pair the ears and tail with matching coloured clothes and add some face paint. Voilà—a little furry friend is ready for trick-or-treating!
3. No-Sew Fairy Costume
Want something magical but easy? Here’s a no-sew fairy costume that’ll make your child will love!
What You’ll Need:
- Tulle (the more colours, the better)
- An elastic band for the tutu
- Wire and old tights
- Ribbon and glitter glue for decoration (because fairies need sparkle!)
How to Make It:
- Tutu Time: Cut your tulle into strips, fold them in half, and tie them onto the elastic band. Keep going until you have a fluffy tutu.
- Fairy Wings: You can either buy fairy wings or make them with wire and old tights. Get creative with glitter glue to add a little sparkle.
- Magic in the Details: Pair the tutu with a simple top, attach the wings, add some face glitter and behold your magical fairy!
4. DIY Robot Costume
Do you have some old cardboard boxes lying around? Turn them into a robot costume!
What You’ll Need:
- Cardboard boxes (a big one for the body, a small one for the head)
- Aluminium foil or silver spray paint (for that shiny robot look)
- Stickers or coloured paper (to make buttons and gadgets)
- Duct tape, glue, and scissors
How to Make It:
- Robot Body: Cut out the holes for the arms and legs in the big box. Wrap it in foil or paint it silver to give it a metallic robot feel.
- Button Up: Add fun details by sticking coloured paper or buttons on the front to create control panels. Be as creative as you like!
- Helmet: For the head, cut a face hole in the smaller box and wrap that in foil too. Add antennas or pipe cleaners to really get that robot vibe.
- Suit Up: Pop the boxes on, and your little one is ready to beep-boop around the neighbourhood!
5. DIY Spooky Ghost
Add a little fright by transforming an old white sheet into a spooky ghost costume!
What You’ll Need:
- Large white sheet (make sure it’s big enough to cover the whole body)
- Scissors
- Black marker or fabric paint
- Safety pins
Instructions:
- Cut Eye Holes: drape the sheet over your child and mark out the eye area. Remove the sheet and cut the holes out, making sure to not make them too large.
- Add a Face: Use a black marker or fabric paint to draw a spooky face on the sheet. You can create a classic ghost look with hollow eyes and a sad or scary mouth.
- Secure the Costume: place the sheet over the head, positioning the eye holes and let it flow to the ground. Use safety pins to secure the sheet in place, especially around the shoulders to prevent it slipping.
Once your costume is ready, why not visit one of the local Halloween events near you.


